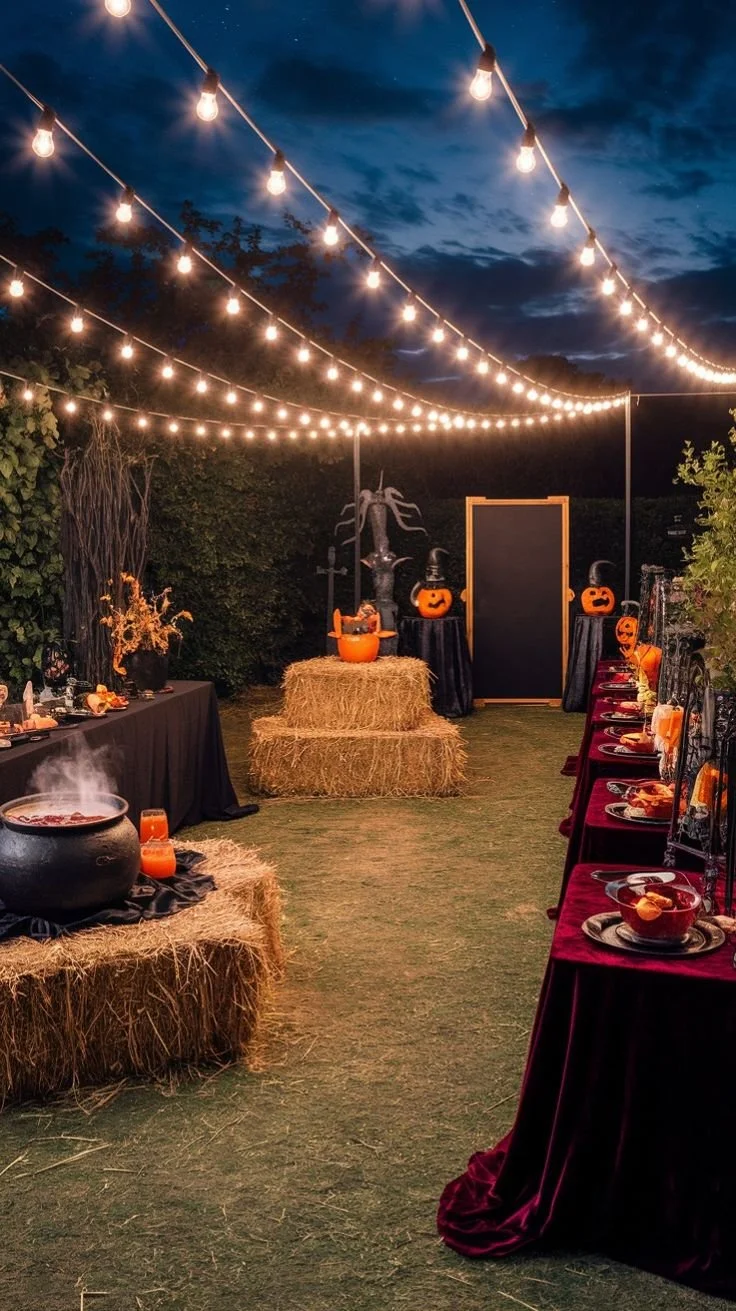
Creating a spooktacular Halloween atmosphere doesn’t have to be expensive or complicated. Our DIY Halloween Tree Porch Decor is the perfect way to bring some festive flair to your entryway. This simple and budget-friendly project uses easily accessible materials to create a whimsical, yet spooky look that will delight both trick-or-treaters and visitors alike.
Why You’ll Love DIY Halloween Tree Porch Decor
- Cost-Effective: You can create an eye-catching decoration without spending a fortune. Most items can be found around your home or at a local craft store.
- Creative Expression: This project allows you to showcase your creativity. Customize the design with colors and embellishments that match your personal style.
- Easy to Make: Beginners can easily follow this step-by-step guide, making it a fun activity for the whole family.
- Reusable: Once made, your Halloween tree decor can be reused year after year, making it a smart addition to your seasonal traditions.
- Family Fun: Crafting together can become a cherished family activity, creating lasting memories as you prepare for the spooky season.
Recipe Overview
- Prep Time: 30 minutes
- Total Time: 1 hour (including drying time)
- Servings: N/A (this is a decorative project)
- Difficulty Level: Easy
Ingredients You’ll Need for DIY Halloween Tree Porch Decor
- Branches or Twigs: Use fallen branches or twigs; they create a natural look and form the base of your Halloween tree.
- Black Spray Paint: This adds an eerie effect and allows you to transform ordinary branches into spooky decor.
- String Lights: White or orange LED string lights will enhance the decor, adding a welcoming glow.
- Fake Spider Webs: These create an ominous atmosphere. Enjoy the fun of wrapping some branches with this soft, fluffy material.
- Decorative Ornaments: Use small plastic pumpkins, bats, or skulls to add flair to your Halloween tree. Look for items at craft stores or even make your own with repurposed materials.
- Vase or Flower Pot: To hold your branches upright, use a sturdy vase filled with rocks or a large flower pot. This will provide stability to your Halloween tree.

How to Make DIY Halloween Tree Porch Decor
-
Gather Your Materials: Collect all your supplies and find a workspace. Make sure to have your branches, spray paint, vase, lights, and decorations handy.
-
Prepare the Branches: If needed, trim your branches to the desired height. Aim for a height that will show off your decorations while fitting comfortably on your porch.
-
Spray Paint the Branches: In a well-ventilated area, spray paint the branches with black paint. Allow them to dry completely; this may take around 30 minutes, depending on the paint used.
-
Assemble the Tree: Once the branches are dry, place them into the vase or pot. If using a pot, fill it with rocks or dirt to ensure it stands firm.
-
Add String Lights: Wrap the string lights around the branches. Start from the base and work your way to the top, ensuring even coverage for a striking effect.
-
Decorate the Tree: Hang your ornaments on the branches, spacing them out for visibility. Place the fake spider webs between the branches for that extra spooky touch.
-
Position Your Decor: Place your completed Halloween tree on your porch or entryway. Arrange it so that it’s visible from the street and creates an inviting atmosphere.
Tips for Success
- Branch Selection: Choose branches that have interesting shapes to add flair.
- Secure Lights: Use clear fishing line to help secure lights if they’re slipping off the branches.
- Test Before Decorating: Before adding decorations, plug in the string lights to ensure they all work properly.
- Weather Considerations: If your decorations will be exposed to rain, consider using waterproof lights.
- Balance Is Key: Ensure the weight in your pot balances the branches to prevent tipping.
Easy Variations
- Theme Decor: Instead of using traditional colors, opt for a color scheme that matches your home’s exterior or a specific theme like spooky witches or cute pumpkins.
- Natural Elements: Incorporate other elements like leaves or small gourds for a more rustic look.
- Height Variation: Use branches of varying lengths to create an eye-catching, layered effect.
- Glow-in-the-Dark Paint: Add glow-in-the-dark paint to some decorations for an eerie, nighttime effect.
- Holiday Fusion: Incorporate other seasonal decor elements such as autumn leaves or Thanksgiving-themed items if you plan to keep the decor up longer.
What to Serve with DIY Halloween Tree Porch Decor
- Homemade Pumpkin Treats: Serve pumpkin-flavored cookies or cupcakes as a sweet treat for visitors.
- Hot Apple Cider: A warm drink that evokes fall and pairs well with the Halloween theme.
- Ghostly Marshmallow Treats: These make fun and tasty snacks that keep with the Halloween spirit.
- Spooky Punch: A themed beverage for adults and kids alike, served in a cauldron for added effect.
- Candy Bowl: Stock up on festive candies as treats for trick-or-treaters at your decorated porch.
Storage and Reheating
- Storage: Store your DIY Halloween Tree Porch Decor in a dry, cool space when not in use to preserve the materials.
- Preservation: If you’re using natural branches, keep them away from moisture to prevent mold.
- Reusability: Most decorations can be reused with new lights or ornaments each year for a fresh look.
Common Mistakes to Avoid
- Overloading the Branches: Don’t weigh down the branches too much with decorations, as this may cause them to break or tip.
- Neglecting Stability: Ensure that the base is firm enough to avoid toppling, especially if it’s windy outside.
- Skipping Drying Time: Allowing paint to dry completely prevents messes and maintains the overall aesthetic.
- Placement Issues: Position your decor where it can be easily seen by visitors – avoid hidden corners.
- Ignoring Safety: Ensure all materials are secure to avoid any accidents, especially if children are around.
DIY Halloween Tree Porch Decor: Background & Cultural Inspiration
DIY Halloween decorations have roots in the ancient Celtic festival of Samhain, where people believed the boundaries between the living and the dead blurred. Modern Halloween practices include carving pumpkins and decorating with spooky themes that evoke a blend of creativity and tradition. Decorating with items like trees adds a communal and welcoming element, reflecting the spirit of the season while allowing for personal expression. Furthermore, creating homemade decorations fosters family engagement and creativity, making it a festive experience for all ages.
Frequently Asked Questions
Can I use fresh branches instead of dried ones?
Yes, you can use fresh branches, but they may not provide the same lasting structure as dried twigs.
How do I keep my decorations from blowing away?
Weight down your base with rocks or sand to anchor your decor against the wind.
Can I spray paint the branches in colors other than black?
Absolutely! You can choose any color that matches your theme, like orange, purple, or even metallics.
Is it okay to leave the tree decor out during rain?
If you use non-waterproof materials, it’s best to bring the decor inside during rain to prevent damage.
Can I make this project a group activity?
Yes! This DIY project is perfect for families or friends to work on together, allowing for creative collaboration.
Final Thoughts
Creating your own DIY Halloween Tree Porch Decor is a delightful way to celebrate the spooky season while expressing your creativity. This project is both easy and budget-friendly, allowing you to make something unique and festive. So gather your materials, invite the family to join in, and infuse your home with the spirit of Halloween. You’ll cherish this annual tradition for years to come.
PrintDIY Halloween Tree Porch Decor

Create a whimsical and spooky Halloween tree for your porch with budget-friendly materials that bring festive flair to your entryway.
- Prep Time: 30 minutes
- Cook Time: 0 minutes
- Total Time: 60 minutes
- Yield: N/A
- Category: Decorations
- Method: Crafting
- Cuisine: N/A
- Diet: N/A
Ingredients
- Branches or Twigs
- Black Spray Paint
- String Lights
- Fake Spider Webs
- Decorative Ornaments
- Vase or Flower Pot
Instructions
- Gather Your Materials: Collect all your supplies and find a workspace.
- Prepare the Branches: Trim your branches to the desired height.
- Spray Paint the Branches: In a well-ventilated area, spray paint the branches with black paint.
- Assemble the Tree: Place branches into the vase or pot for stability.
- Add String Lights: Wrap the lights around the branches for a striking effect.
- Decorate the Tree: Hang ornaments and place fake spider webs for a spooky touch.
- Position Your Decor: Place your completed Halloween tree where it’s visible and inviting.
Notes
Choose branches with interesting shapes and ensure the base is stable to avoid tipping.